🖨️ Print Your Quick Clamp Parts
- Locate where you saved QuickClampModels.zip or where it was downloaded.
- Right‑click → Extract All … (Windows) or double‑click (macOS).
- You’ll get a folder with individual
.stlfiles ready for your slicer.
Drag all STL files into your slicer (Cura, PrusaSlicer, Bambu Studio, etc.).
- No supports should be needed if oriented properly.
- If you enable supports, remove them carefully around mating faces.
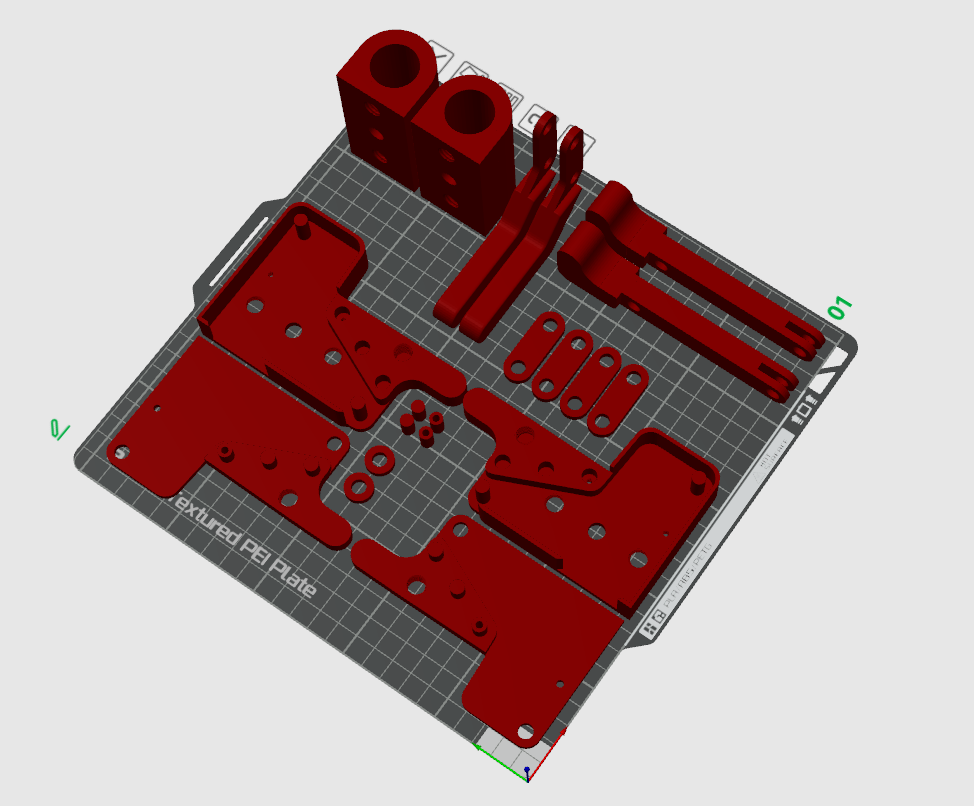
- Example of part orientations that shouldn’t require supports:
- Nozzle: 0.4 mm
- Layer height: 0.20 mm
- Perimeters/walls: 3 – 4
- Infill: ≥ 50 %
- Material: PLA or PET‑G
- Supports: Off preferred | Tree/Organic if needed
- Adhesion: Skirt or brim if bed adhesion is weak
- Clean bed with IPA (PLA) or glue‑stick (PET‑G).
- Run a quick bed‑level test for first‑layer accuracy.
- Purge filament until color is consistent.
During the print
- Watch the first layer—uniform and shiny is good.
- Check mid‑print that walls are bonding properly.
After the print
- Let parts cool before removal to avoid warping.
- Remove strings with a deburring tool or hobby knife.
- If you added supports, carefully clear leftover material so parts slide together smoothly.